Retail Merchandising Lighting in 2026: Display Visibility and Comfort
Why Retail Lighting Is a Merchandise Decision
Retail lighting is often specified as an illumination problem: provide enough light, meet the project schedule, and keep the fixture package within budget. That approach misses the commercial question. In a shop, showroom, or branded retail environment, light determines whether a customer can read a label, distinguish a finish, compare colours, notice a product at the end of an aisle, and move comfortably through the space.
For procurement teams, this means a luminaire should not be approved from its catalogue lumen figure alone. The decision should connect the merchandise layout, viewing distances, surface reflectance, beam distribution, colour requirements, glare risk, controls, maintenance access, and acceptance method. A product that looks efficient on a datasheet can still produce weak vertical light on a display wall or harsh reflections on glossy packaging.
This article is for retail buyers, lighting specifiers, contractors, distributors, and project managers. It focuses on a repeatable way to compare retail lighting packages in 2026 without turning the specification into a list of disconnected numbers.
Start With the Viewing Task and Merchandise Geometry
The first question is not “How many lumens does this fitting produce?” It is “What must the shopper see, from where, and for how long?” A folded garment, a bottle, a jewellery display, a vertical shelving bay, and a large appliance each create a different lighting task.
Map the store into practical zones:
- Aisles and circulation: support orientation, safe movement, and comfortable adaptation between brighter and darker areas.
- Perimeter walls and shelving: provide useful vertical illumination so packaging, textures, and labels remain legible.
- Feature displays: create controlled emphasis without producing sharp hotspots or distracting reflections.
- Checkout and service points: support faces, documents, payment interfaces, and staff tasks.
- Changing rooms or consultation areas: control facial shadows, colour appearance, and privacy-related comfort.
- Back-of-house and stock areas: optimise task visibility and maintenance rather than copying the sales-floor scheme.
Record the mounting height, display height, aisle width, typical viewing distance, shelf depth, and likely product rotation. A narrow beam aimed at a deep shelf may create a bright front edge and leave the rear of the display visually flat. A wide beam may fill the shelf more evenly but spill onto circulation routes and reduce contrast between the display and its surroundings.
The project brief should also identify the surfaces that matter. Glossy packaging, polished stone, glass, digital displays, and metallic finishes can reflect a high-angle source into the customer’s line of sight. Dark shelving absorbs light and may need a different distribution from a white wall, even when the nominal target is the same.
Beam Distribution Is a Layout Choice
Beam angle is useful shorthand, but it is not a complete optical description. Two luminaires with the same nominal beam angle can produce different distributions, cut-off behaviour, field angles, and visual transitions. Request the photometric file and use it with the actual mounting geometry rather than selecting from beam labels alone.
A practical comparison should ask:
- Does the distribution reach the merchandise plane at the intended distance?
- Is the centre-to-edge transition gradual enough for the display concept?
- Does the beam create visible scalloping between adjacent fittings?
- How much light spills onto the floor, ceiling, or neighbouring display?
- Can aiming or optical changes be made without moving the electrical point?
For a display wall, compare the distance from the luminaire to the wall with the mounting height and display height. A source mounted too close can create a steep brightness gradient: the top of the wall is bright while lower shelves fall away. A source mounted too far away may waste light behind the customer or create glare along the aisle. The right geometry depends on the display, not on a universal rule.
For open retail areas, layered light is generally easier to control than a single uniform field. Ambient light supports orientation, vertical light gives displays presence, and accent light creates hierarchy. The layers should be coordinated in the control plan; otherwise, a scene may leave accent fittings on after the merchandise has changed or dim the general layer until the shop feels visually uncomfortable.
Vertical Illuminance and Contrast Need Separate Checks
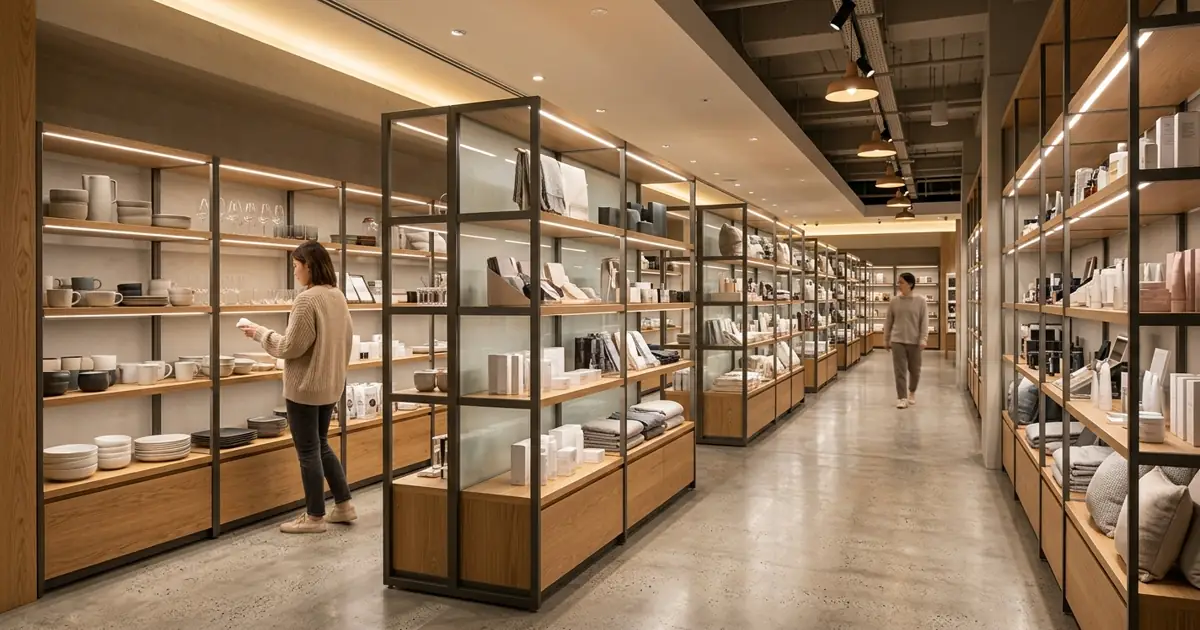
Horizontal illuminance on the floor is easy to measure and important for circulation. It is not enough for merchandise. Products are usually viewed on vertical or angled planes, so the schedule should identify the relevant display surfaces and the measurement method for them.
Ask the design team to show:
- the target plane and measurement grid for shelving or wall displays;
- the relationship between display light and surrounding ambient light;
- the expected contrast without excessive hotspots;
- the effect of product replacement, shelf changes, and seasonal layouts; and
- the light level at labels, price information, and service counters.
A high average level can conceal poor uniformity. Conversely, a low average can still feel effective when a controlled accent layer gives the merchandise clear visual priority. The project acceptance criteria should therefore distinguish average illuminance, uniformity, vertical visibility, and visual comfort instead of collapsing them into one “lux” number.
Do not promise a universal lux target in a generic procurement article. Local codes, the retailer’s design standards, the merchandise, the task, and the visual concept all affect the appropriate value. The safer procurement practice is to state the project target, plane, tolerance, and measurement conditions explicitly.
Colour Quality Is a Supply-Chain Requirement
Colour appearance is not secured by writing “high CRI” once in a schedule. Specify the colour rendering metric and the test basis that matter for the merchandise, then define the acceptable colour consistency across the delivered batch. A food display, fashion floor, cosmetics counter, and hardware aisle may prioritise different spectral performance.
The specification should identify, where relevant:
- correlated colour temperature and permitted tolerance;
- the rendering metrics selected for the merchandise;
- colour consistency or chromaticity tolerance;
- the operating current and thermal conditions behind the declared values;
- optical and diffuser materials that may affect appearance; and
- the sample approval and batch verification process.
Request samples in the intended finish and configuration. A sample with one driver, one optic, and one colour bin cannot automatically represent every later delivery. Record the approved sample identifier, photograph the comparison under controlled conditions, and require the supplier to identify any change in LED package, optic, diffuser, driver, or colour bin.
Colour consistency also has a maintenance dimension. If a failed fitting is replaced with a visually different batch, the store can develop patchwork colour across a continuous shelf or wall. Spare-part planning should therefore include the configuration identity and the expected availability of compatible replacement components.
Glare and Reflections Are Customer-Experience Risks
Retail glare is not only a technical discomfort metric. It can make labels harder to read, hide product detail, create reflections in display panels and glass, and make a bright store feel tiring. Review glare from the customer’s eye height and likely movement path, not only from the plan view.
During design review, inspect down-aisle views, approach views, seated views at consultation points, and views toward glossy merchandise. Check the source luminance, shielding, aiming range, ceiling reflections, and interaction with daylight. A recessed or shielded fitting may be preferable in one zone, while a carefully aimed adjustable fitting may be more useful in another.
The mock-up should include the real shelf finish, representative packaging, and the proposed control scene. Empty mock-ups often hide the reflections that appear after installation. Ask the team to log glare observations alongside measured data, with photographs and the viewing position recorded.
Controls Should Preserve the Merchandising Intent
Controls can support operating hours, daylight response, cleaning, seasonal scenes, and energy management, but only when the control strategy is written around the retail operation. The procurement file should state which fittings are grouped, which scenes are required, who can change them, and what happens after a power interruption or component replacement.
The US Department of Energy’s commercial LED purchasing guidance identifies occupancy sensing, task tuning, and daylight dimming as control strategies to consider where applicable. Its Integrated Lighting Campaign also treats advanced controls as a system and field-performance topic rather than a fixture-only feature. In a retail project, the practical implication is to test the complete scene: fixture output, sensor behaviour, time schedules, override access, and recovery after maintenance.
Avoid specifying “smart” as a substitute for a control requirement. State the protocol or interface, dimming range, response behaviour, commissioning responsibility, and handover data. If a control system is optional, price the base and future-ready configurations separately so the buyer can evaluate lifecycle risk rather than an ambiguous promise.
A Practical Retail Lighting Procurement Table
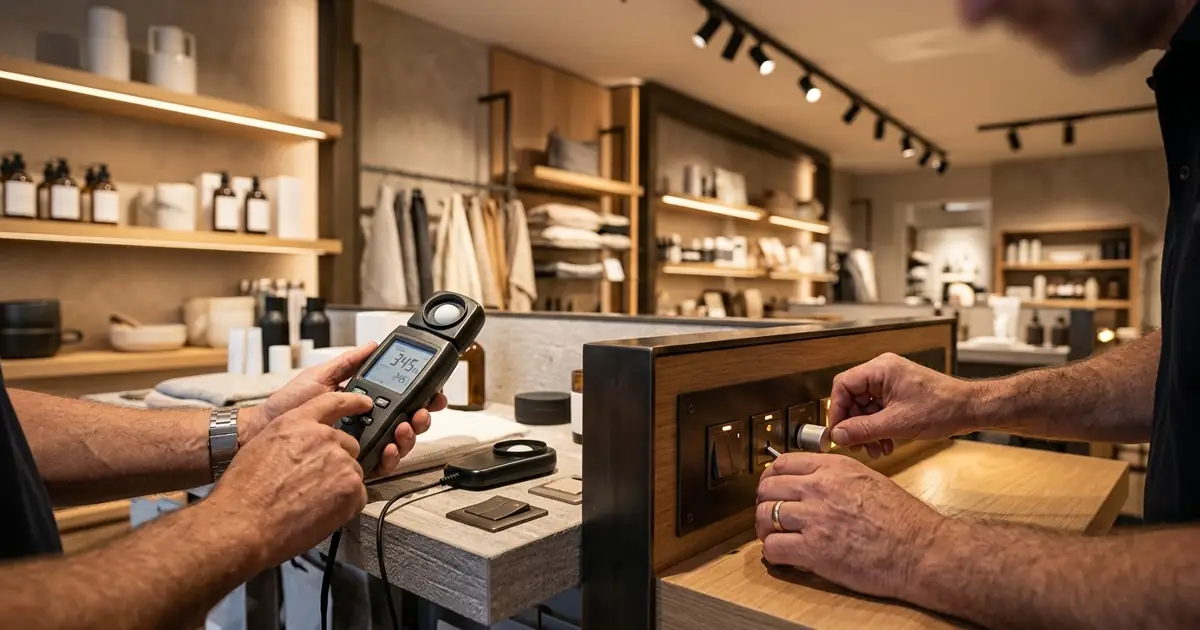
Use a schedule that links each requirement to evidence and an acceptance test.
| Requirement | Evidence to request | Acceptance check |
|---|---|---|
| Display visibility | Photometric file and calculation on the display plane | Measure the agreed grid with representative merchandise |
| Beam distribution | Polar data, aiming range, optic identity | Inspect hotspot, spill, and overlap from customer viewpoints |
| Colour appearance | Sample, declared metrics, consistency tolerance | Compare approved sample and delivered batch under a defined method |
| Glare control | Optical details and mock-up images | Review approach, down-aisle, glass, and digital-display reflections |
| Controls | Wiring diagram, interface, scenes, commissioning plan | Test schedules, overrides, dimming, and restart behaviour |
| Maintenance | Driver and component identity, access method, spare-part plan | Verify replacement procedure and configuration traceability |
| Energy performance | Rated input, operating modes, control assumptions | Record actual scene settings and operating schedule at handover |
Keep supplier-declared values, third-party test results, design calculations, and site measurements in separate fields. This prevents a calculated value from being mistaken for a tested value and makes later substitutions easier to review.
Common Specification Mistakes
Mistake 1: Choosing by lumen output alone
Delivered light on the product plane, optical distribution, glare, and control state matter more than a single source number.
Mistake 2: Measuring only the floor
Floor measurements cannot prove that labels, vertical displays, and faces are adequately lit. Define the planes that represent the viewing task.
Mistake 3: Approving an empty mock-up
Use representative shelves, packaging, glass, digital displays, and finishes. Reflection problems often appear only after the display is populated.
Mistake 4: Treating the sample as the batch
Lock the configuration identity and colour consistency requirement. A later substitution should trigger a documented review.
Mistake 5: Leaving commissioning until handover
Scenes, sensors, dimming limits, and overrides affect the commercial result. Price and assign commissioning before installation begins.
Conclusion: Buy a Verifiable Visual Result
Retail lighting procurement is strongest when it describes the visual result in measurable, reviewable terms. Start with the merchandise and viewing task; then connect beam distribution, vertical illuminance, colour consistency, glare control, controls, and maintenance to evidence and acceptance checks.
The best package is not necessarily the one with the highest lumen figure or the lowest unit cost. It is the one that gives the project team a clear way to approve the design, detect substitutions, commission the scenes, and maintain a consistent customer experience as the store changes.
For a retail lighting project, prepare a display schedule before requesting final prices. Define the viewing planes, representative finishes, sample method, control scenes, and replacement process. That small investment turns a catalogue comparison into a decision the buyer can defend at design review, delivery, and handover.
Frequently Asked Questions
Is a higher lumen rating enough for a retail display?
No. Compare delivered light on the relevant display plane, beam distribution, glare, colour consistency, control behaviour, and maintenance evidence. A higher lumen rating can still produce a weak or uncomfortable result when the optical geometry is wrong.
Should every retail zone use the same beam angle?
No. Aisles, shelving, feature displays, service points, and back-of-house areas have different viewing tasks and surfaces. Select the distribution from the mounting geometry and merchandise, then verify it in a representative mock-up.
What should a buyer include in the acceptance test?
Define the measurement planes and grids, representative merchandise and finishes, visual viewpoints, control scenes, colour comparison method, and substitution records before delivery. Keep calculated values separate from site measurements so the handover evidence remains traceable.
Sources
- U.S. Department of Energy, “Purchasing Energy-Efficient Commercial and Industrial LED Luminaires,” https://www.energy.gov/cmei/femp/purchasing-energy-efficient-commercial-and-industrial-led-luminaires
- U.S. Department of Energy Integrated Lighting Campaign, “Integrated Lighting Resources,” https://integratedlightingcampaign.energy.gov/resources
- IEC, “IEC 60598-1:2020 — Luminaires: General requirements and tests,” https://webstore.iec.ch/en/publication/61414
Source review date: 2026-09-02. Project teams should confirm the applicable local code, standard edition, and retailer design requirements before procurement.